
Short Answer:
Use Denture Cleaners, an Ultrasonic Cleaner or go the manual way.
In my quest to uncover How To Clean Keyboard PBT Keycaps, I’ve gathered essential tips and tricks. This guide will walk you through a simple yet effective cleaning process. This methods work for ABS, PBT or POM keycaps as well.
Contents
Supplies
Essential Cleaning Materials
For cleaning PBT keycaps, you will need warm water, mild soap, a keycap puller, and a soft cloth. A soft-bristled brush can be helpful for gently scrubbing away stubborn grime. Ensure you have a clean, lint-free cloth for drying the keycaps after washing.
A Small Bowl
A small container can be useful for soaking the keycaps, and compressed air can help remove debris from the keyboard. Microfiber cloths are ideal for drying as they are gentle and don’t leave behind any fibers. Organizing your workspace with these tools will make the cleaning process more efficient and effective.
Organizing Your Cleaning Space
Prepare a dedicated, clean area for laying out the keycaps to dry after cleaning. Having an organized workspace ensures that all keycaps are accounted for and not misplaced during the cleaning process. This organization is crucial, especially when dealing with multiple keycaps and parts of a mechanical keyboard.
Methods of cleaning
1. Denture Cleaners – My preferred method
It doesn’t matter whether you are cleaning PBT, ABS or POM keycaps, the laziest way to clean them all is with Denture Cleaners, you just throw 2 or 3 of those into a bowl with warm water and leave it for a while.
Rinse with cold water and let it dry overnight.
Number 1 method: Denture cleaners
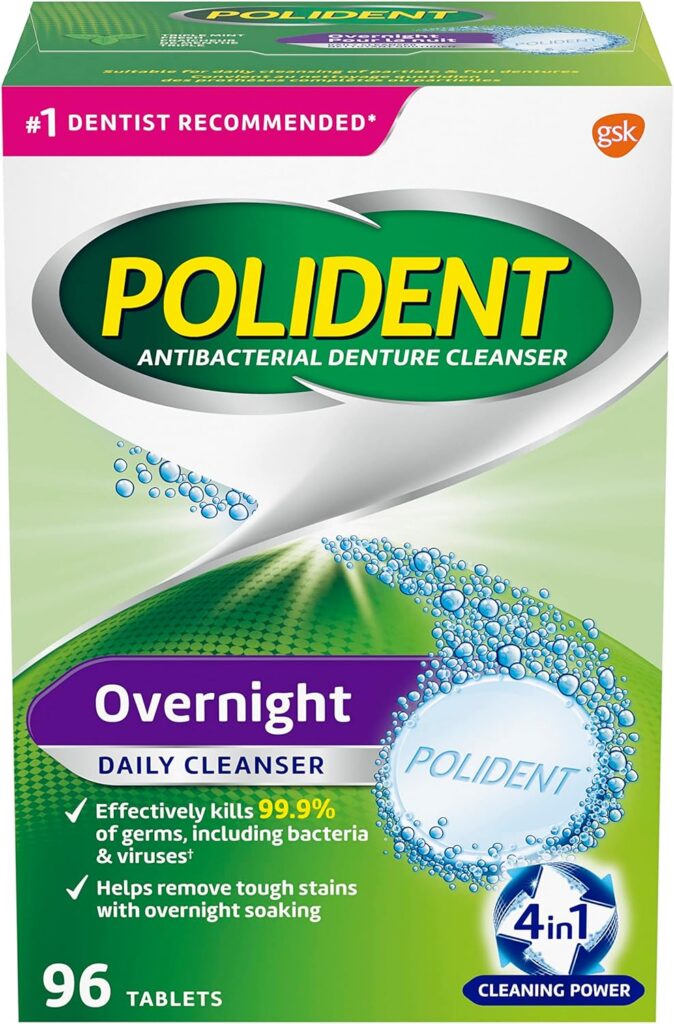
Features
Kill 99%~ of odour causing bacteria
Helps remove tough stains
Takes about 3 minutes~
Cheapest method
2. Ultrasonic Cleaner – AKA Lazy Method #2
Ultrasonic cleaning is very effective with keycaps. Start by filling the cleaner’s tank with water and adding a few drops of dish soap for its grease-cutting properties.
Place your keycaps in the basket, ensuring they are submerged and spaced out for thorough cleaning.
Set the ultrasonic cleaner to run for a suitable cycle, usually around 5-10 minutes, which will agitate the water and soap mixture, effectively dislodging dirt and oils from the keycaps.
Once the cycle is complete, remove the keycaps, rinse them under clean water to remove any soap residue, and let them air dry before reattaching them to your keyboard.
This method is highly effective for deep cleaning without the risk of physical damage to the keycaps. Also, it’s the safest way to clean any type of metallic keycaps.
Number 2 method: Ultrasonic Cleanser
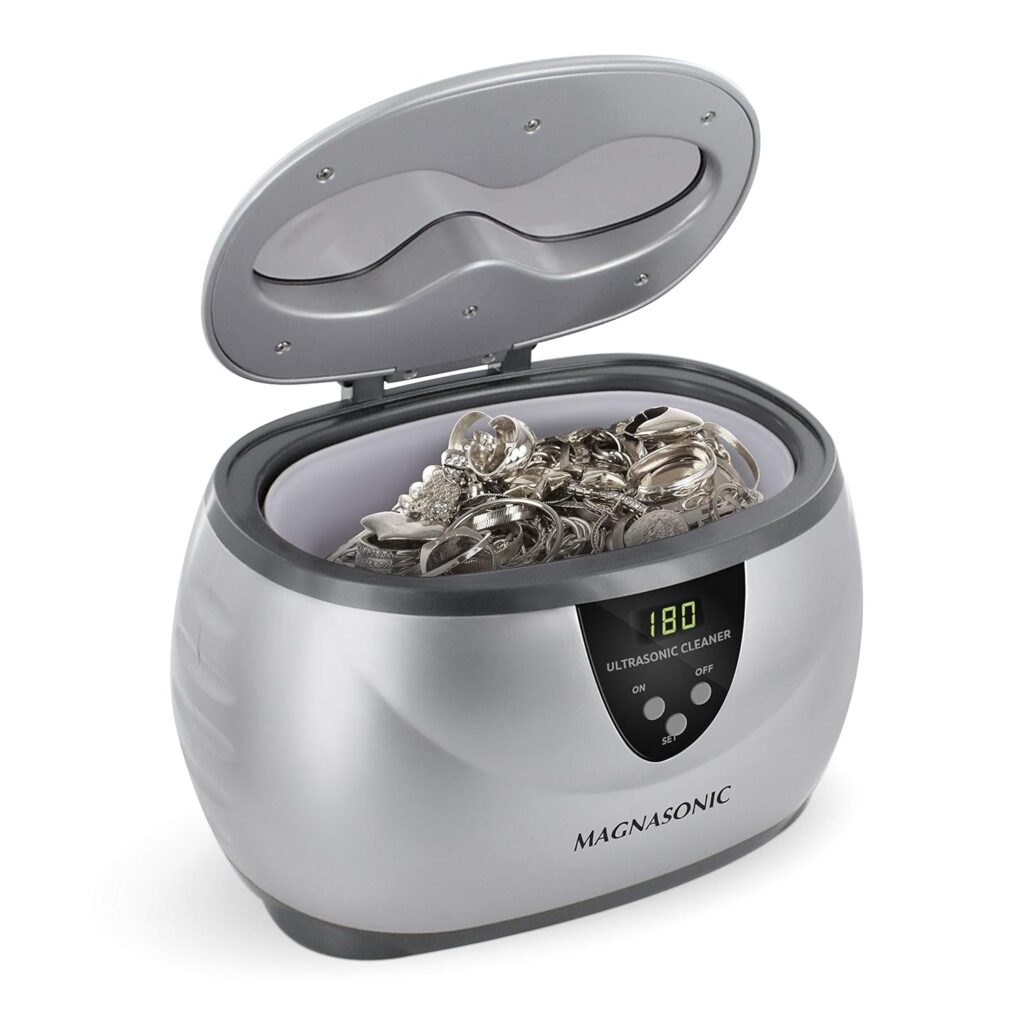
Features
Generates 42,000 Hz of ultrasonic sound waves
Won’t harm your keycaps
Extremely easy to operate, includes basket to keep items secure
Big enough basket for your keycaps
3. The manual way steps
Removing Keycaps
Before removing keycaps, ensure your keyboard is unplugged to prevent damage. Use a keycap puller to gently remove each keycap; this tool is designed to safely detach keycaps without causing stress to the switches or keycaps. Start from one corner of the keyboard and work your way across, placing the removed keycaps in a prepared container or layout to maintain their order, which is crucial for reassembly.
Soaking Keycaps
Once removed, place the keycaps in a container of warm, soapy water. Let them soak for about 30 to 60 minutes; this helps loosen and dissolve oils and grime. Gently agitate the water occasionally to aid the cleaning process, and after soaking, rinse the keycaps thoroughly under running water to remove any soap residue.
Replacing Keycaps
After cleaning and drying, begin replacing the keycaps starting from one side of the keyboard to the other. Ensure each keycap is completely dry before placing it back to avoid any moisture entering the keyboard. Press each keycap firmly down onto its corresponding switch until it snaps into place, ensuring a secure and proper fit.
Things You Should Know
Importance of Regular Cleaning
Regular cleaning is crucial for maintaining the aesthetic and functional integrity of PBT keycaps. Dirt and oils from fingers can accumulate over time, leading to a build-up that affects key responsiveness. Proper cleaning not only preserves the keycaps’ appearance but also ensures optimal performance of the keyboard.
Cleaning Precautions
When cleaning PBT keycaps, avoid using harsh chemicals or abrasive materials that can damage their surface. It’s essential to ensure that keycaps are completely dry before reattaching to prevent any potential damage to the keyboard’s internal components. Using gentle, non-abrasive cleaning methods will help preserve the keycaps’ texture and lettering.
How often should you clean your mechanical keyboard?
Regular Cleaning Schedule
For most users, cleaning PBT keycaps every 3 to 6 months is sufficient to maintain their quality. Those who use their keyboards extensively, especially in environments prone to dust or if eating at the desk, may need to clean their keycaps more frequently.
Recognizing the Need for Cleaning
If the keys begin to feel sticky or the keyboard appears visibly dirty, it’s time for a thorough cleaning. Regular cleaning is particularly important for users in dusty environments or for those with high keyboard usage.
Balancing Deep and Surface Cleaning
Surface cleaning, such as wiping down the keycaps, should be done weekly to prevent the accumulation of dirt and oils. Deep cleaning, which involves removing and thoroughly washing the keycaps, is more intensive and should be done less frequently to avoid wear on the keycaps and keyboard.
FAQ: How To Clean Keyboard PBT Keycaps
1. What is the best way to deep clean PBT keycaps?
The best way to deep clean PBT keycaps is to soak them in warm water and soapy solution. Let them soak for a while, then use a soft microfiber cloth to wipe away any grime or residue.
2. Can I use compressed air to clean my keyboard PBT keycaps?
Yes, you can use compressed air to clean your keyboard PBT keycaps. It’s a good way to remove any crumbs or debris that may have accumulated between the switches.
3. Should I use a damp cloth to clean the keycaps?
Using a slightly damp cloth to clean or wipe the keycaps.
4. How do I ensure my keycaps are completely dry after cleaning?
After cleaning, wipe the keyboard upside down and gently shake it.

As a former SAP Software Engineer and ex professional esports competitor in Warcraft 3, Dota, and CSGO, my passion for gaming and coding runs deep. My websites are a treasure trove where I share this rich expertise, along with my fascination for AI art and mechanical keyboards. Currently, I own three distinct keyboards, and my collection of keycaps is so vast, I've lost count – each one a testament to my commitment to quality and performance.
- Adolfo Pereirahttps://keycapshq.com/author/adolfo-pereira/
- Adolfo Pereirahttps://keycapshq.com/author/adolfo-pereira/
- Adolfo Pereirahttps://keycapshq.com/author/adolfo-pereira/
- Adolfo Pereirahttps://keycapshq.com/author/adolfo-pereira/